Hello! It’s me! Yay!! I don’t know if any of you looking for my content
but I’m glad to be back! I wanna share with guys for a lil bit though.
I’m quite struggling in my life right now but I will try my best to make a comeback soon.
Today I have a one the most common beauty item that every makeup lover had their hands on
but if not let’s take a look with me
I received W7 Power Puff Face Blender Sponge from th.revu.net
Well, I have no idea how this going to turn out because I never use beauty blender before either


This is my first beauty blender. I really like their texture and how flexible it is.
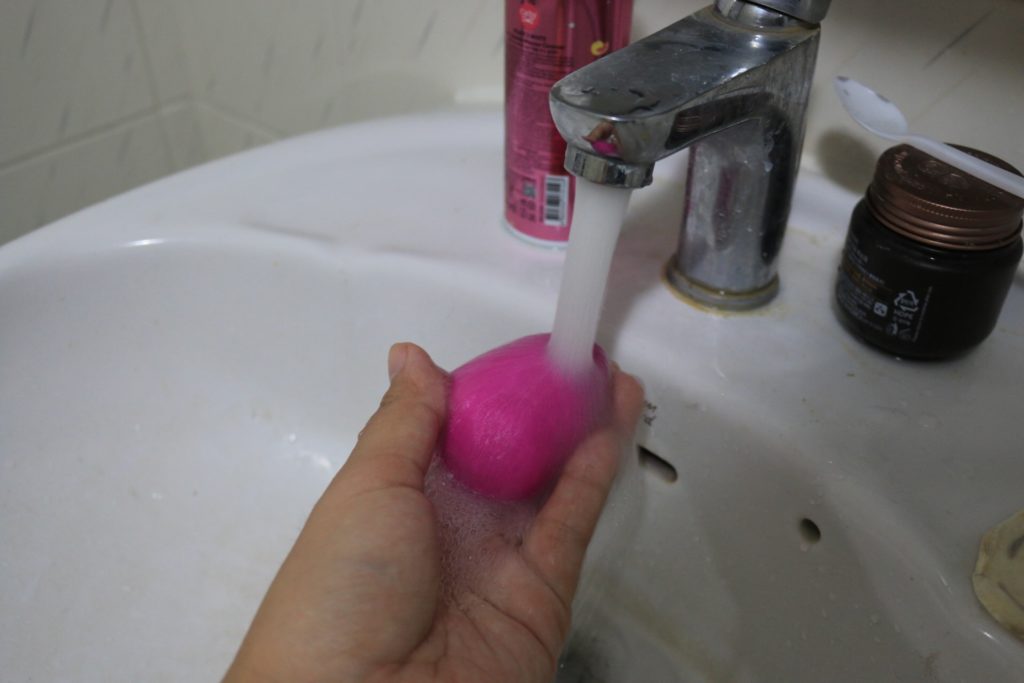
INSTRUCTION
- Place your Face Blender Sponge into water and squeeze until it soak through
- Take the sponge out and give it a squeeze to remove any access water

It got a bigger about half size of the dry one

Today I’m going to show you my everyday contour and highlight routine

Primer: BOBBI BROWN Skin Smoothing Pore Perfector

Apply face primer all over your face.
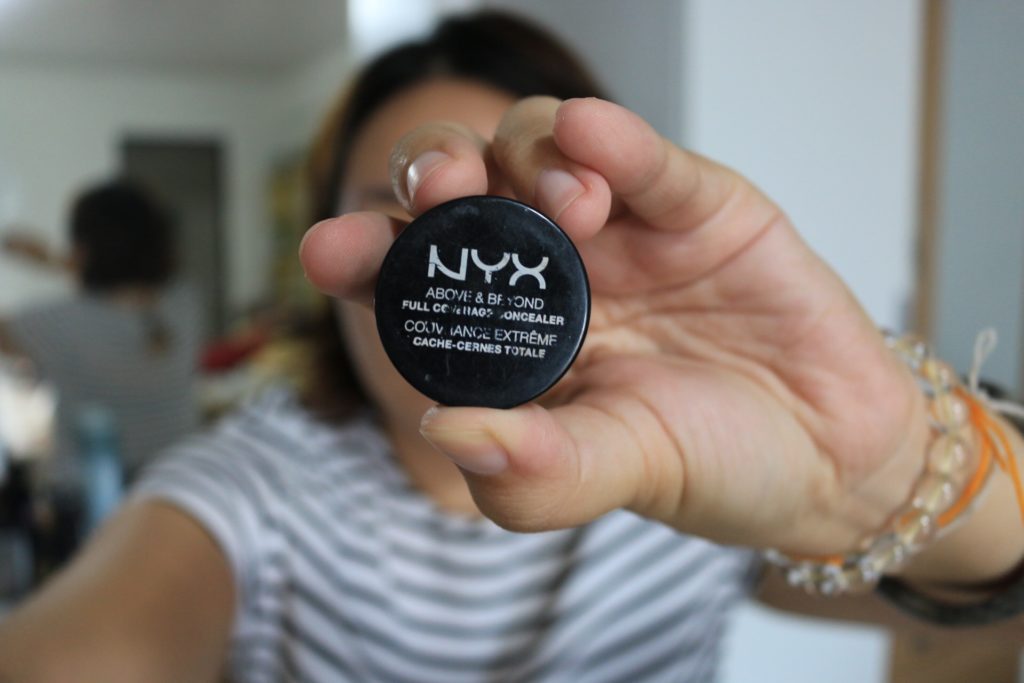
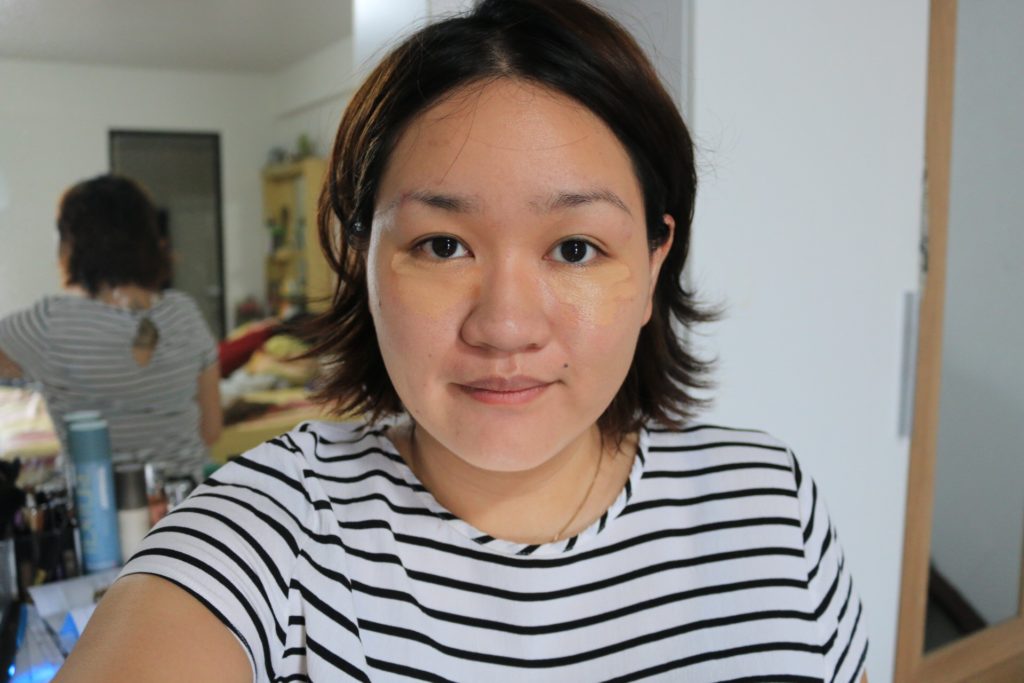
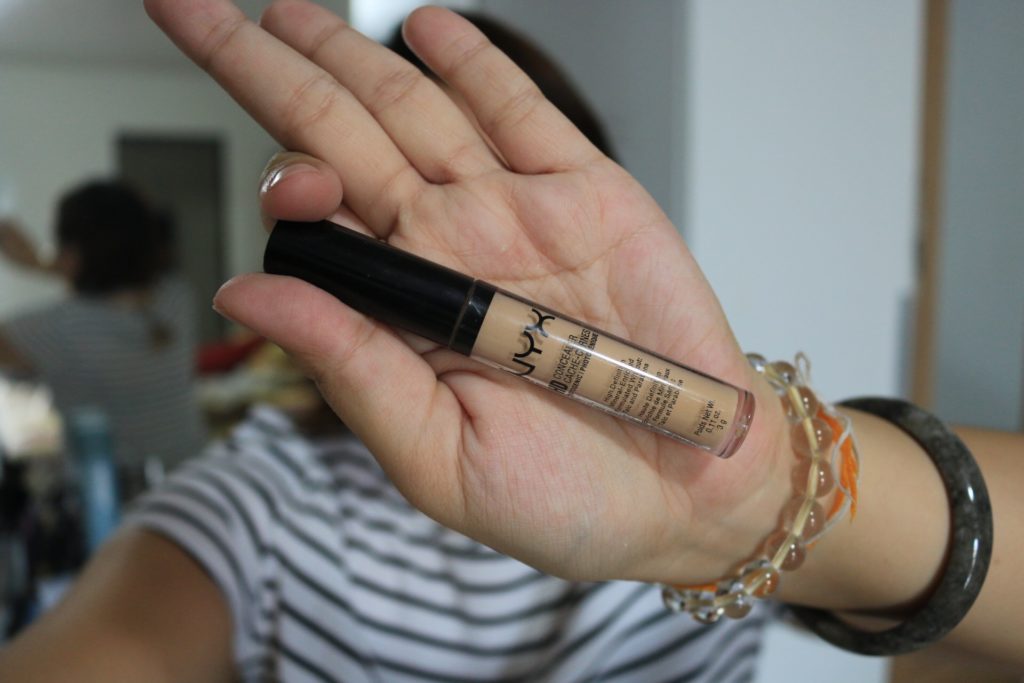
Under eye colour corrector: NYX Above & Beyond Full Coverage Concealer ‘Nutmag’

Looking weird as usual but it’s really help your undie because your baggy are cool tone
so when you add more warm tone to it. It’ll balance the colour up.
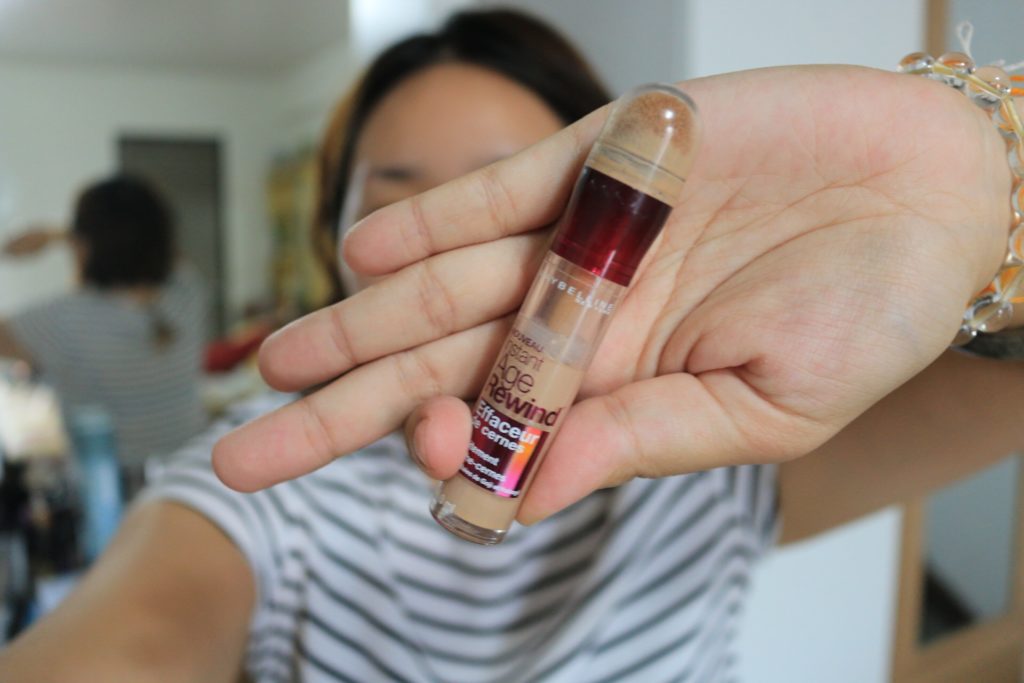
Concealer: MAYBELLINE Instant Age Rewind
Apply them on top of those colour correct area
Highlight: NYX HD Concealer ‘NC-05’
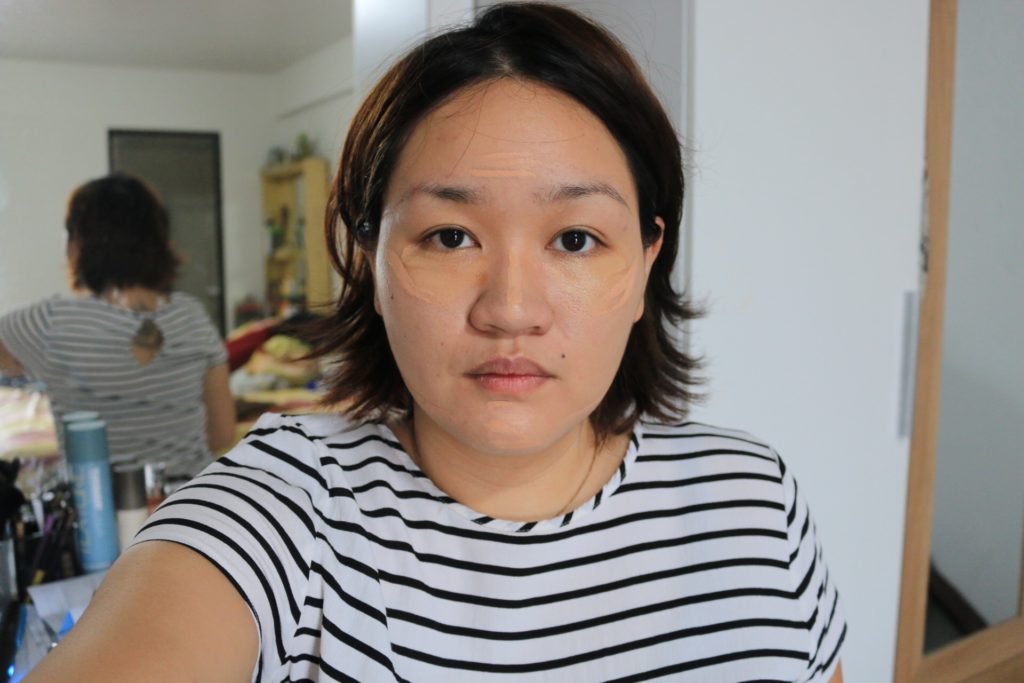
Apply on those area that you would like to highlight: Forehead, nose bridge, cheek,
above & below your mouth, above jawline.
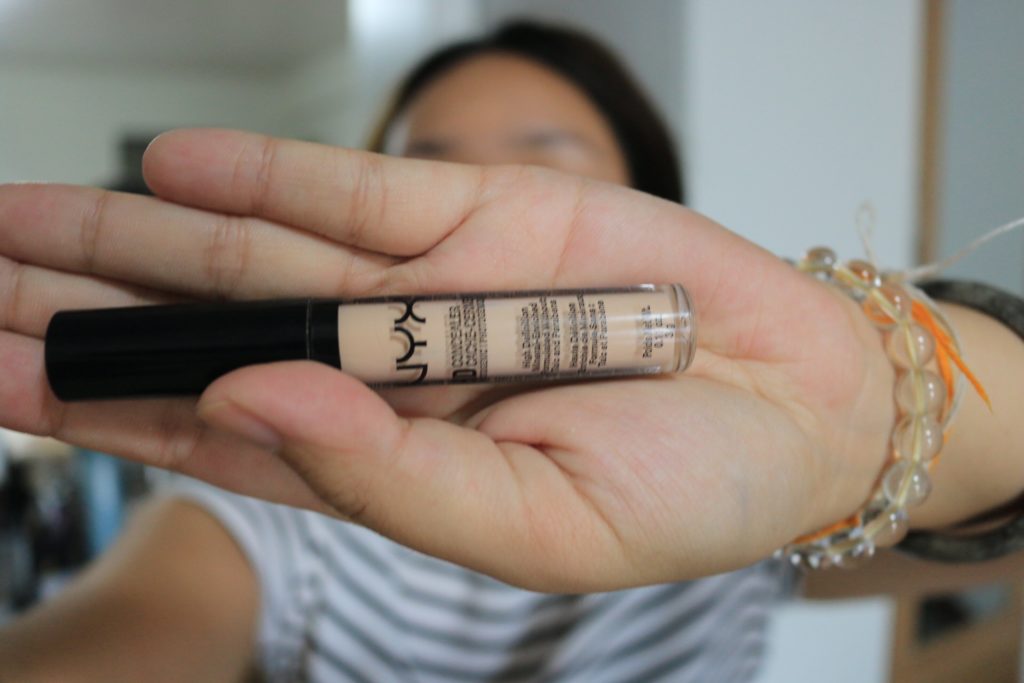
Highlight (Optional): NYX HD Concealer ‘NC-02’
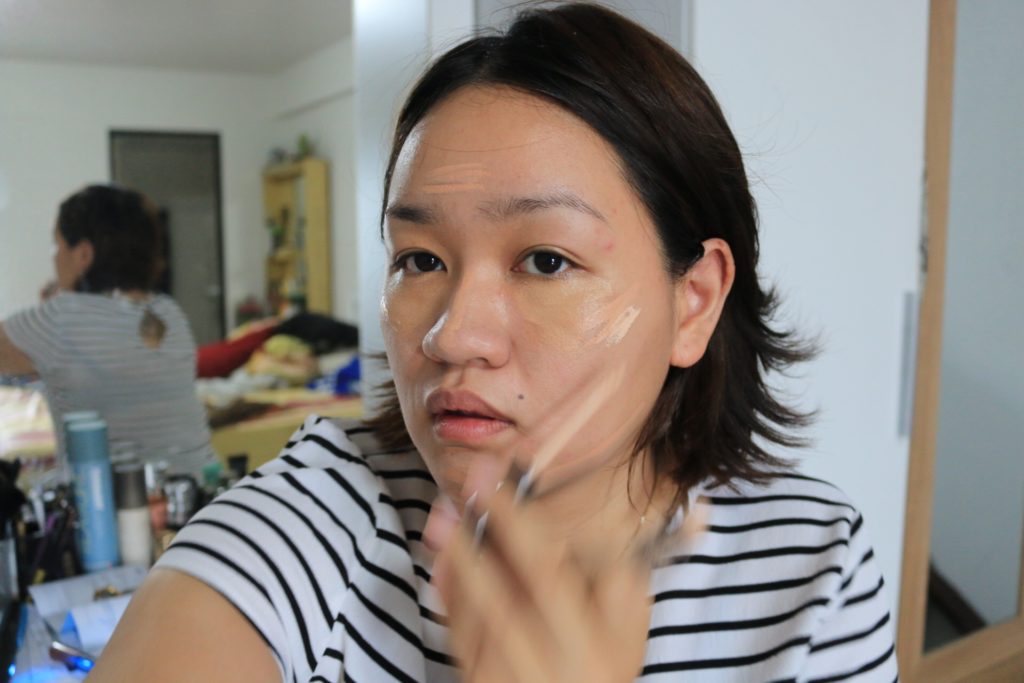
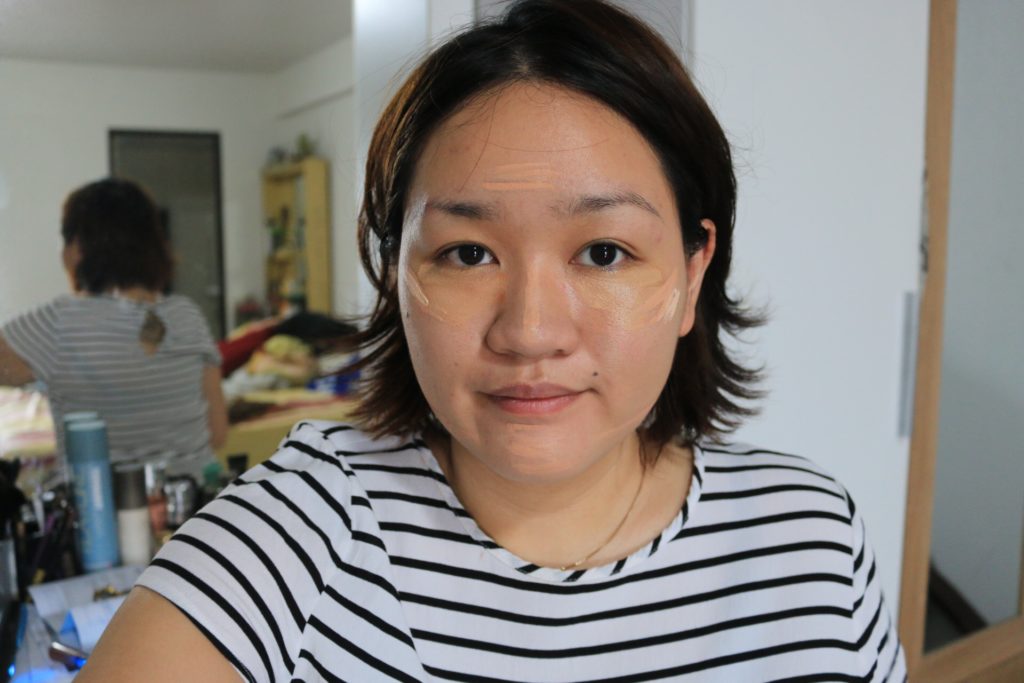
I added lighter shade concealer to certain spot like my cheek and above jawline for more popped.
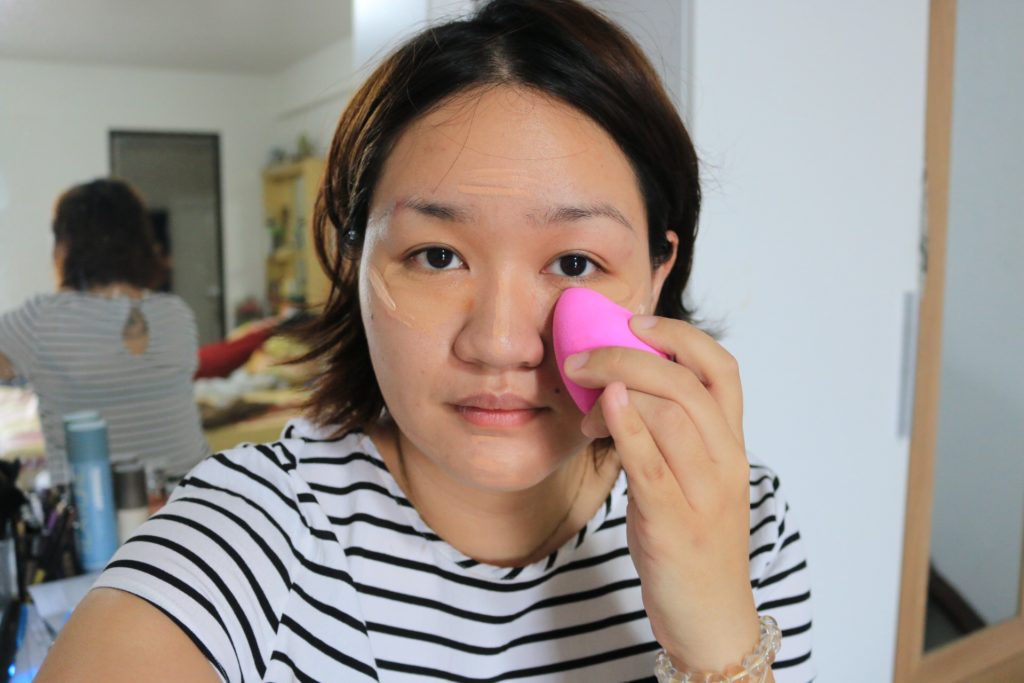
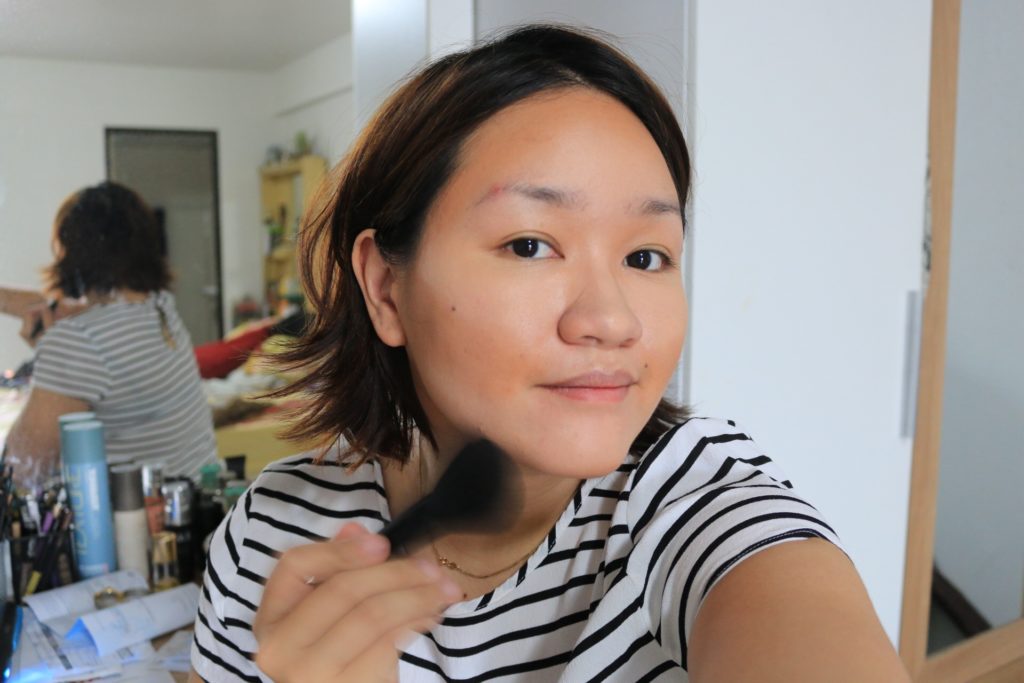
Let’s blend them out!!
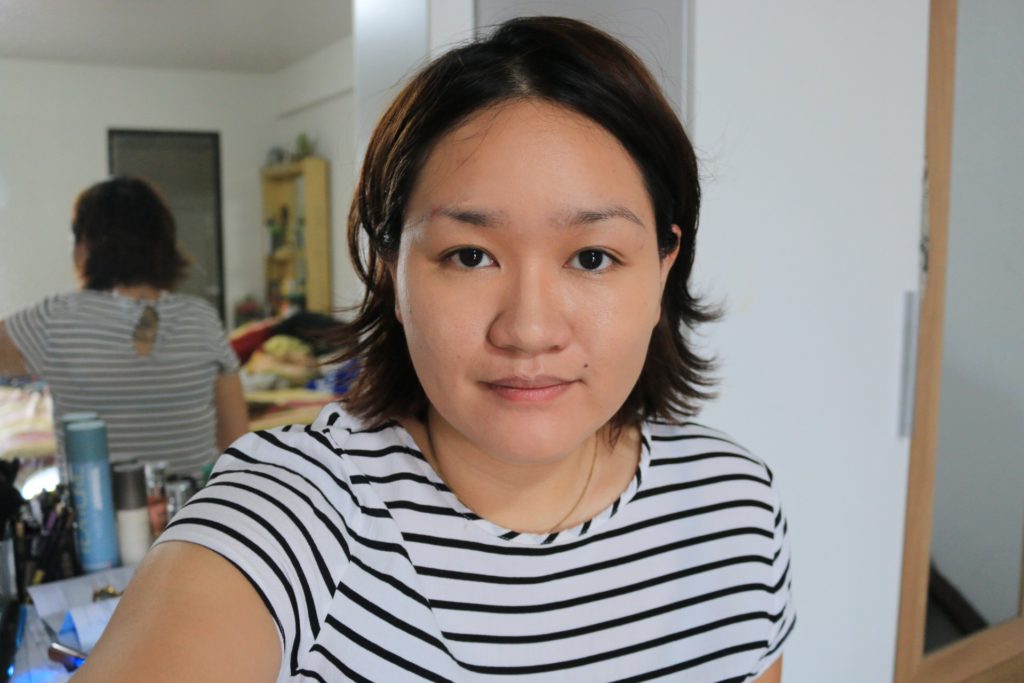
My face looks pretty smooth and even!
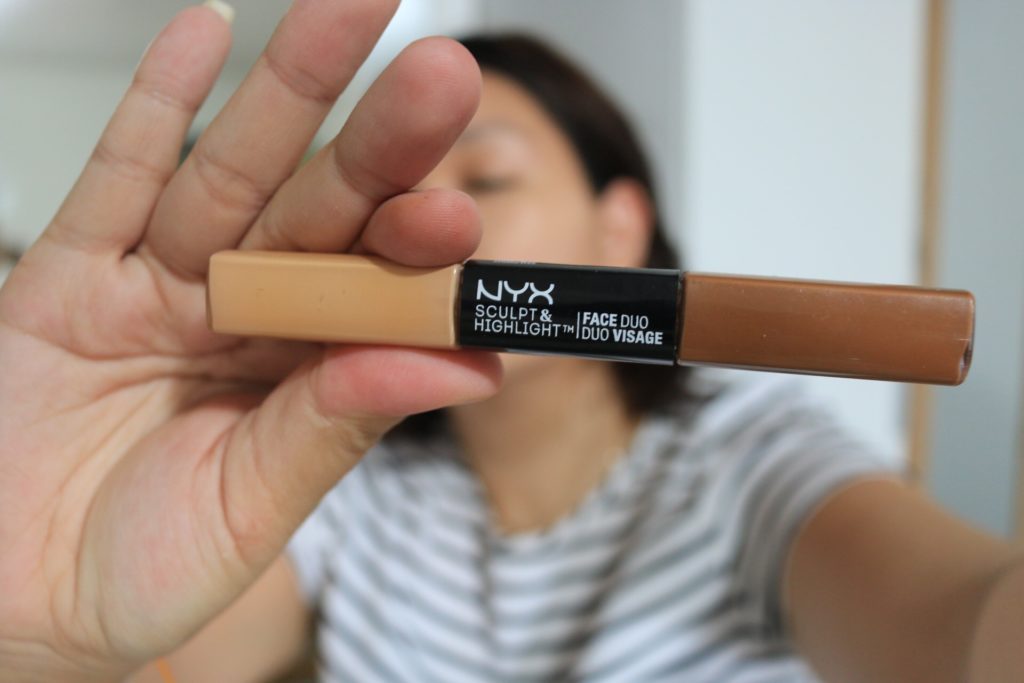
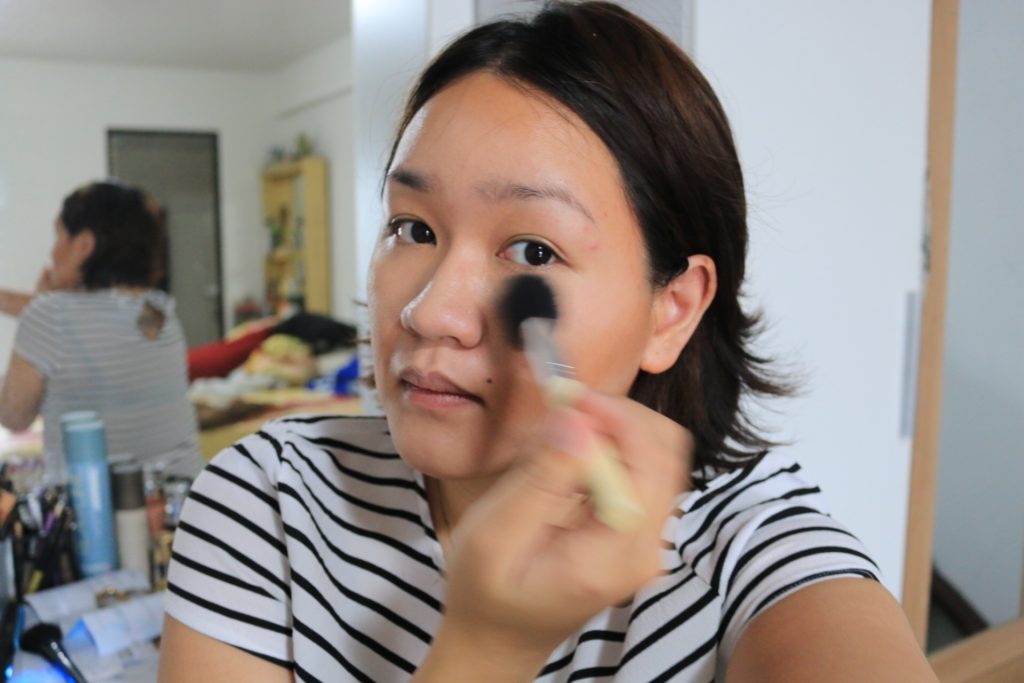
Contour: NYX Sculpt & Highlight Face Duo
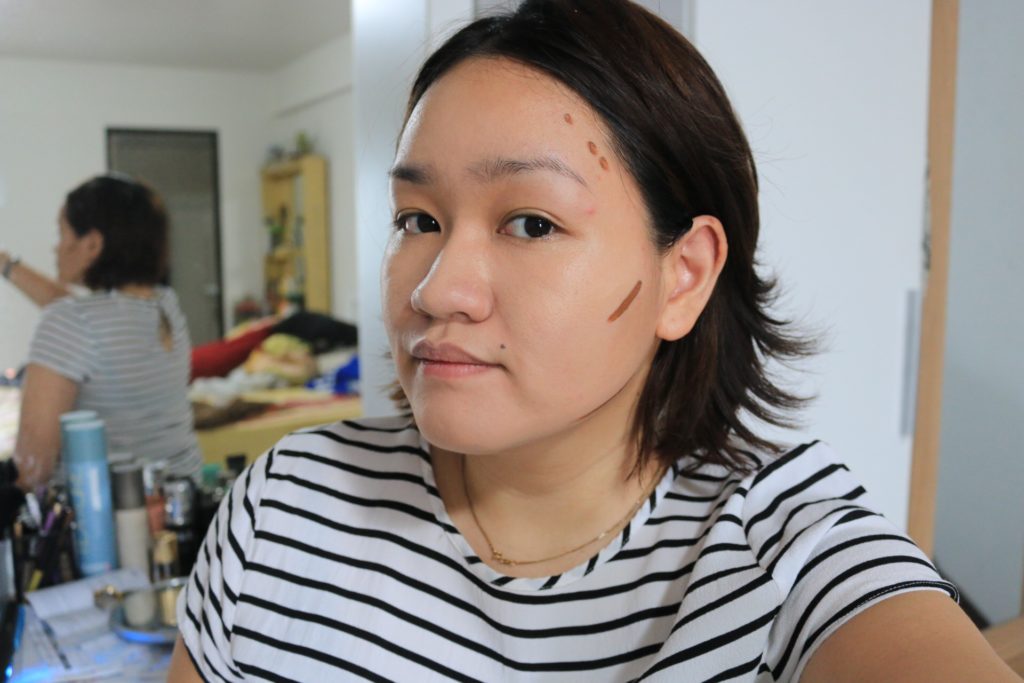
I applied small potion below my cheekbone, temple and jawline.
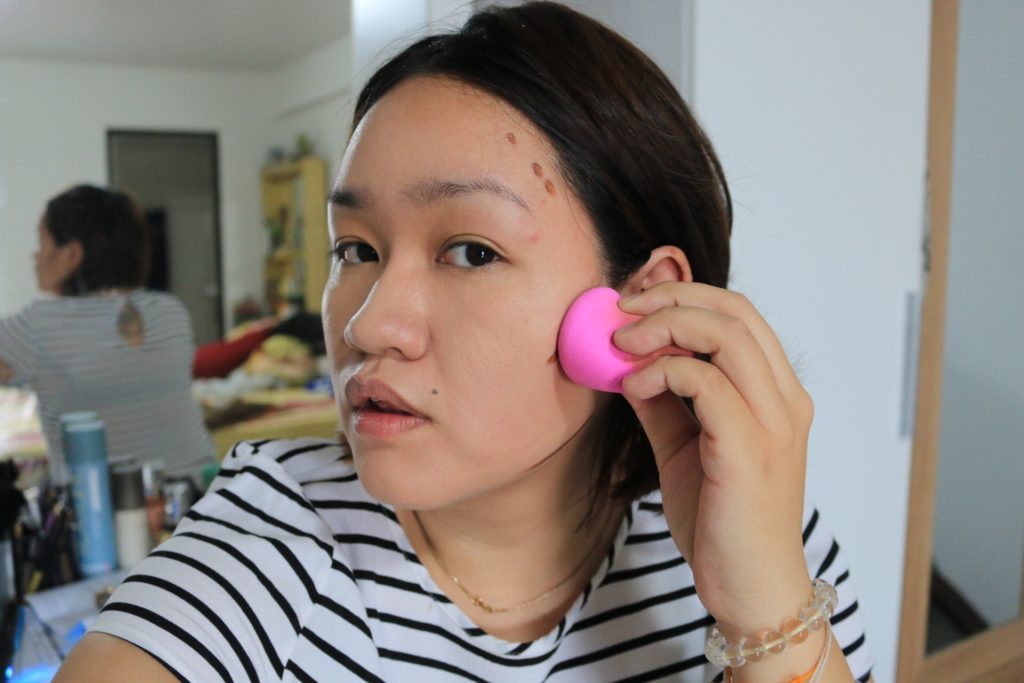
Blend them again.
Now you can really see the different on my face. There are more dimension.
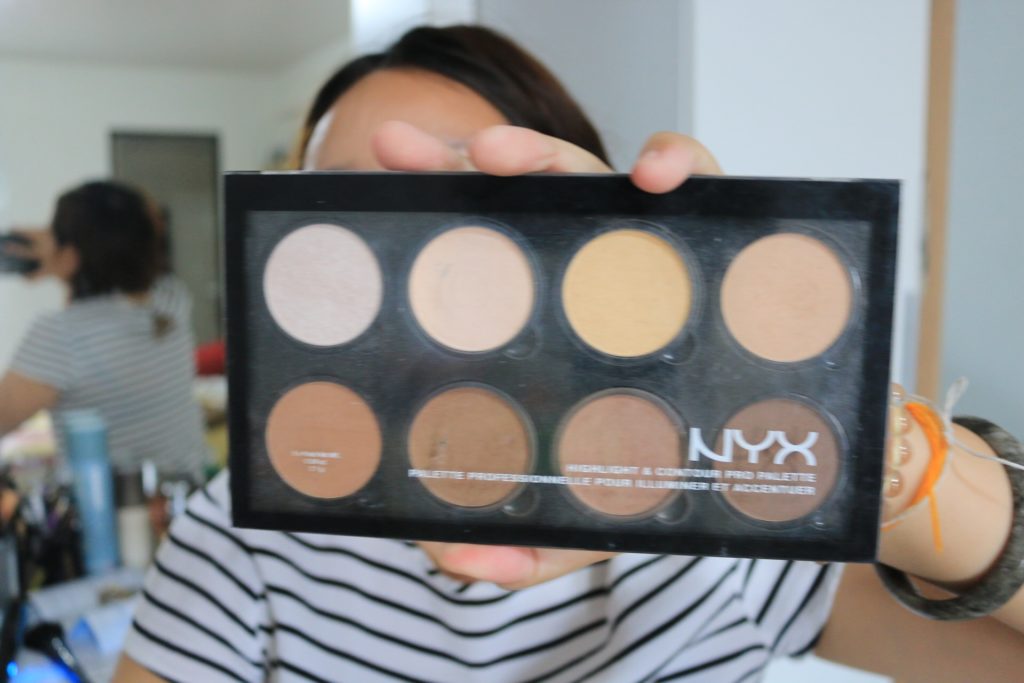
Contour & Highlight (Setting): NYX Highlight & Contour Pro Palette
This also and optional if you have dry skin your probably don’t need this
but I have complex skin so setting them is A MUST and feel like it last longer
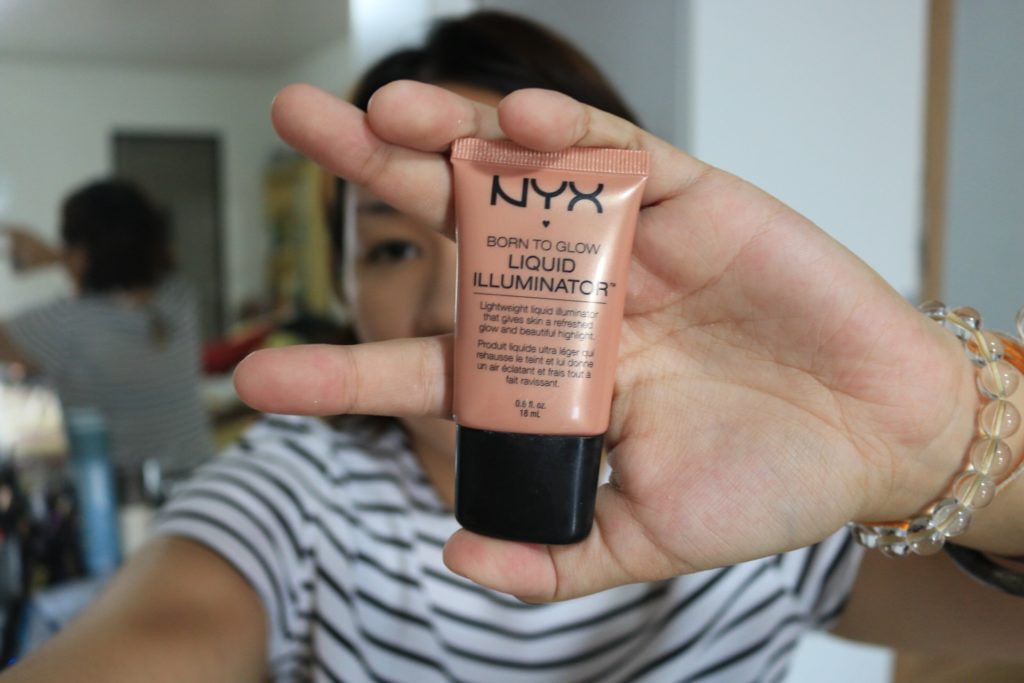
Highlight: NYX Born To Glow Liquid Illuminator ‘Gleam’

You probably wonder why I put highlighter before blush but it’ll give you more natural look
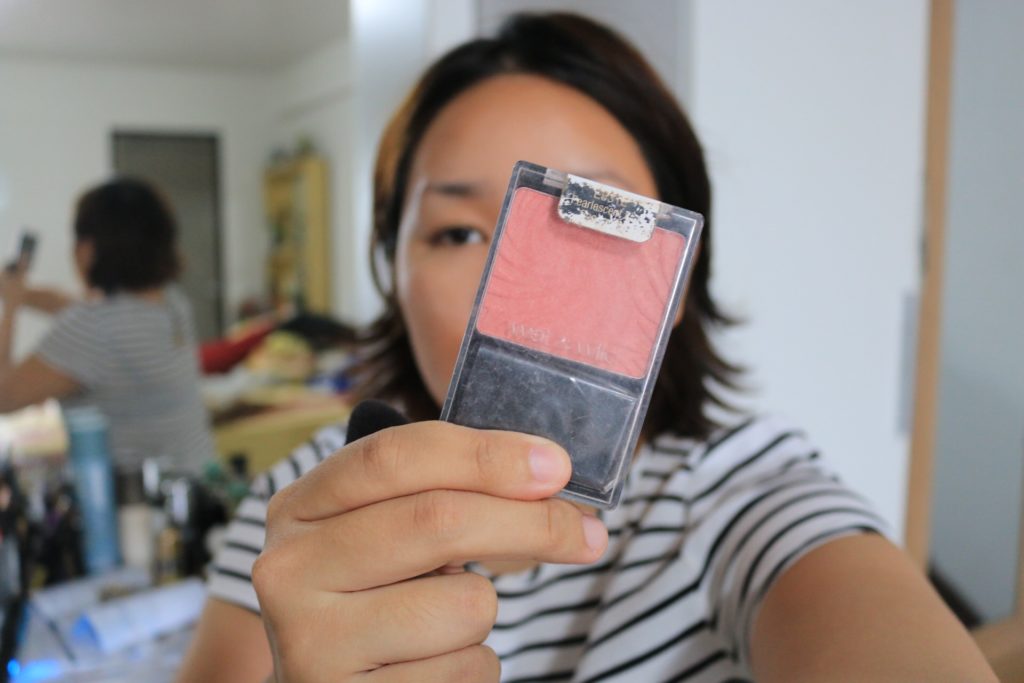
Blush: wet n wild Colour Icon ‘Pearlescent Pink’
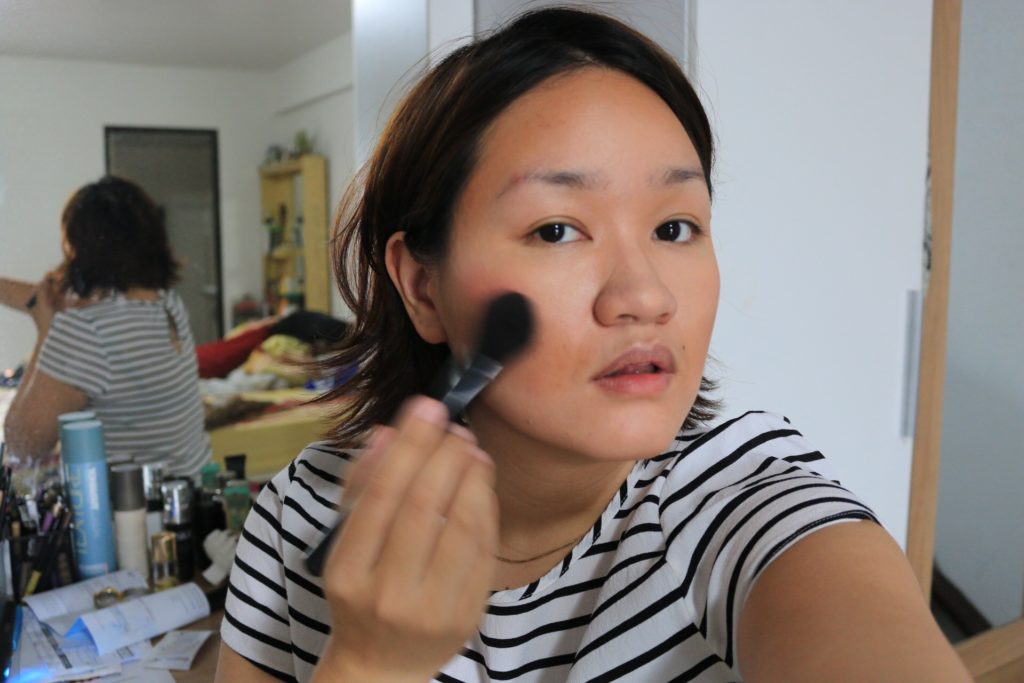
Apply wherever and as much as you feel comfortable with
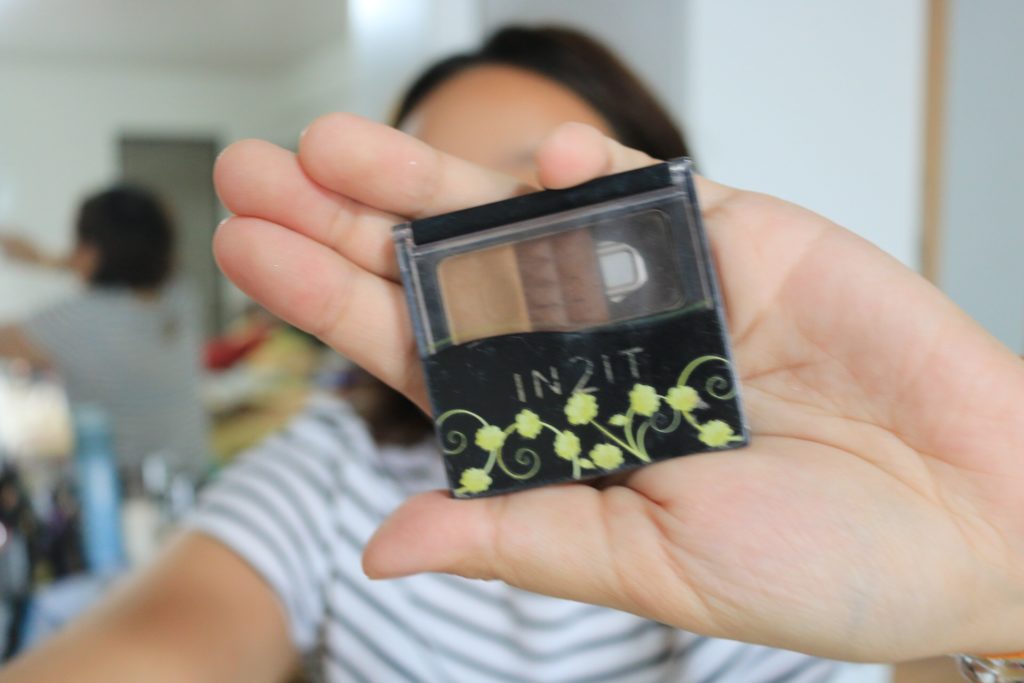
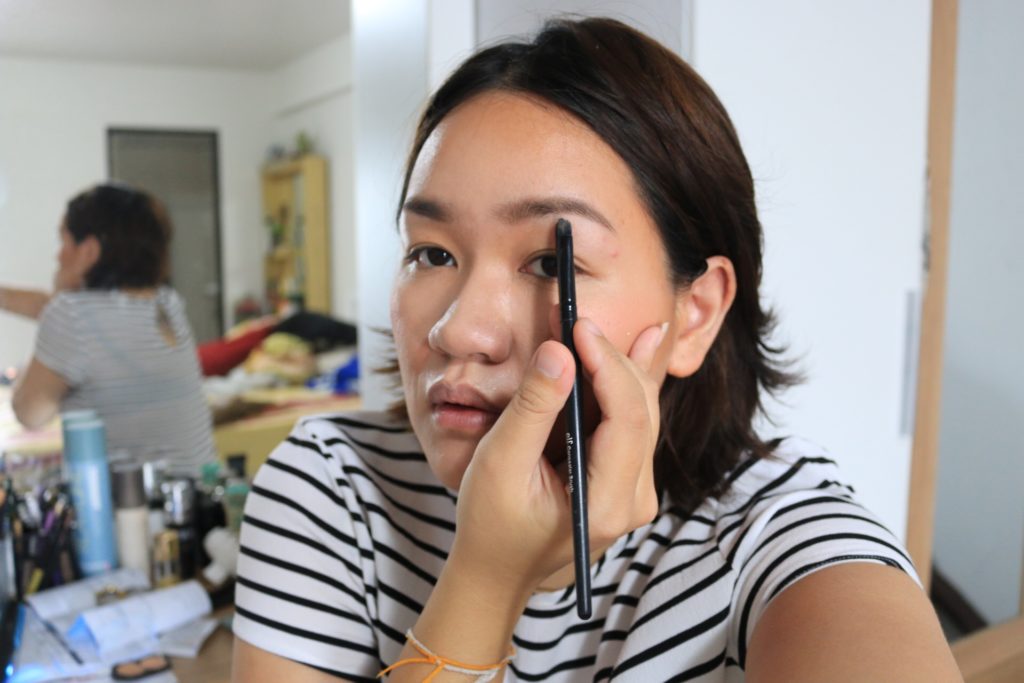
Brow: IN2IT Waterproof Eyebrow ‘ER01’
I used darkest shade on eyebrow’s tail and lighter shade toward the rest
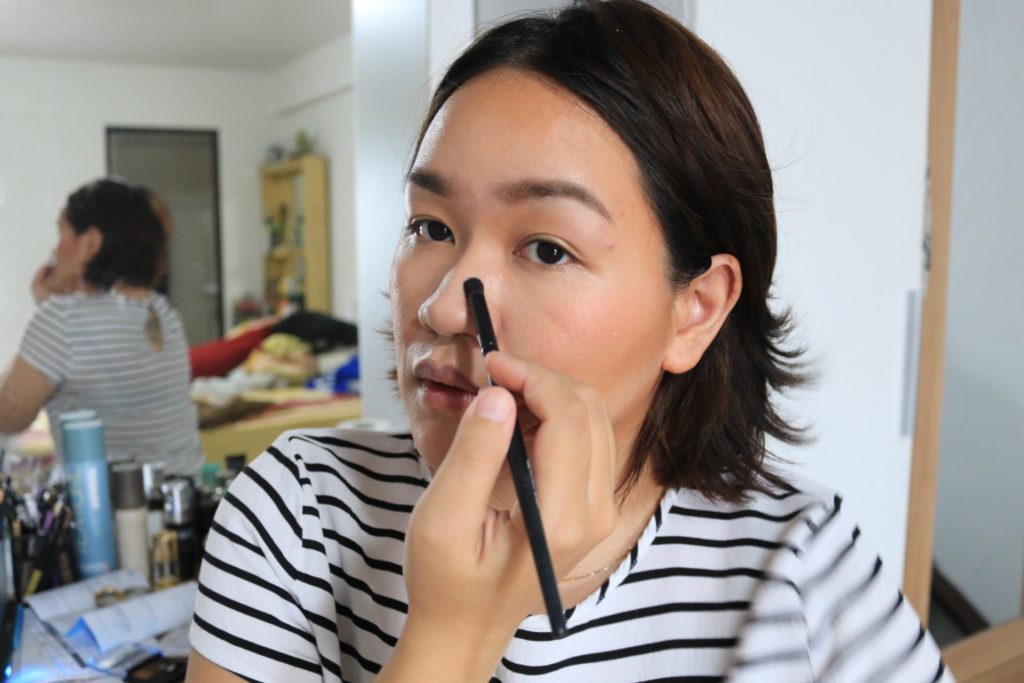
I also used the lightest to contour my nose
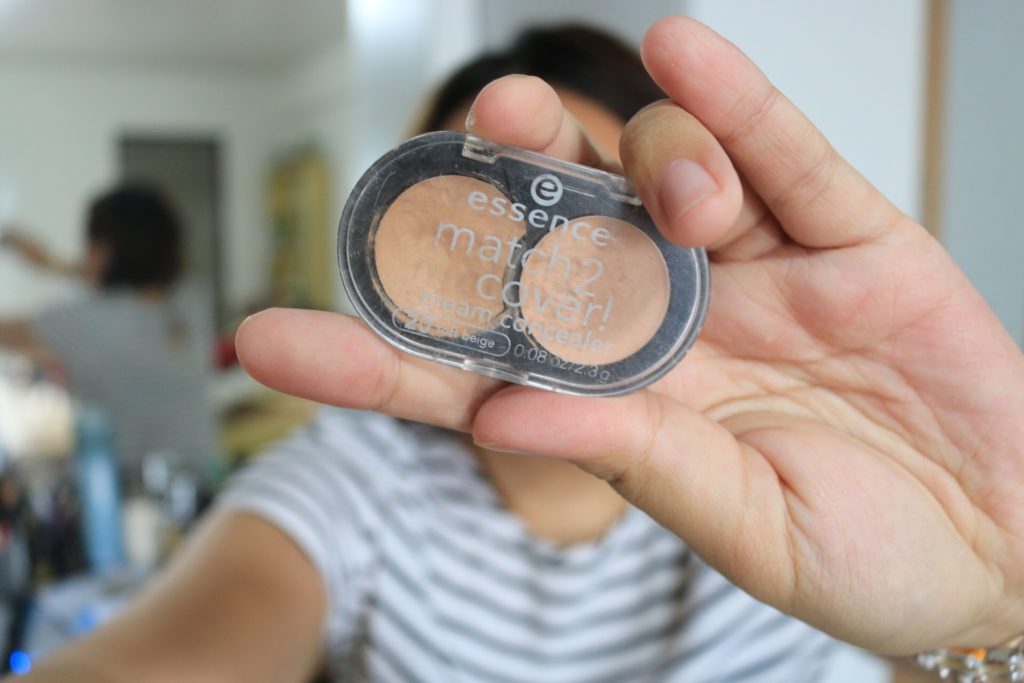
Concealer : essence match2cover ‘Soft beige’
I always shape up my eyebrow by using concealer to clear unwanted area
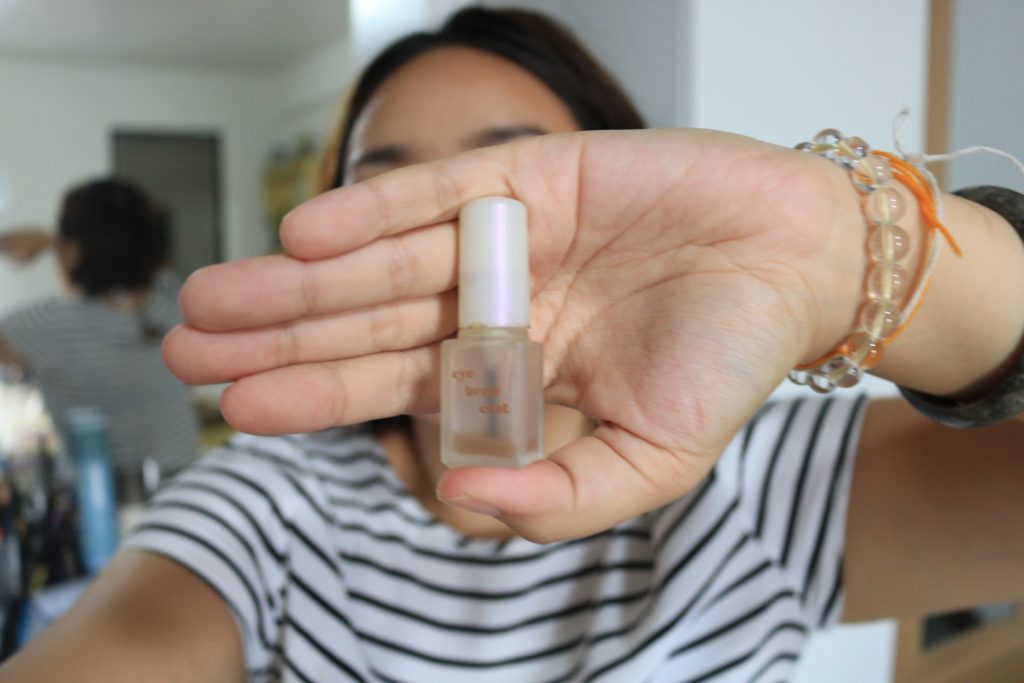
Eyebrow coat: Daiso Eyebrow Coat
Daiso is super cheap and last me all night lol
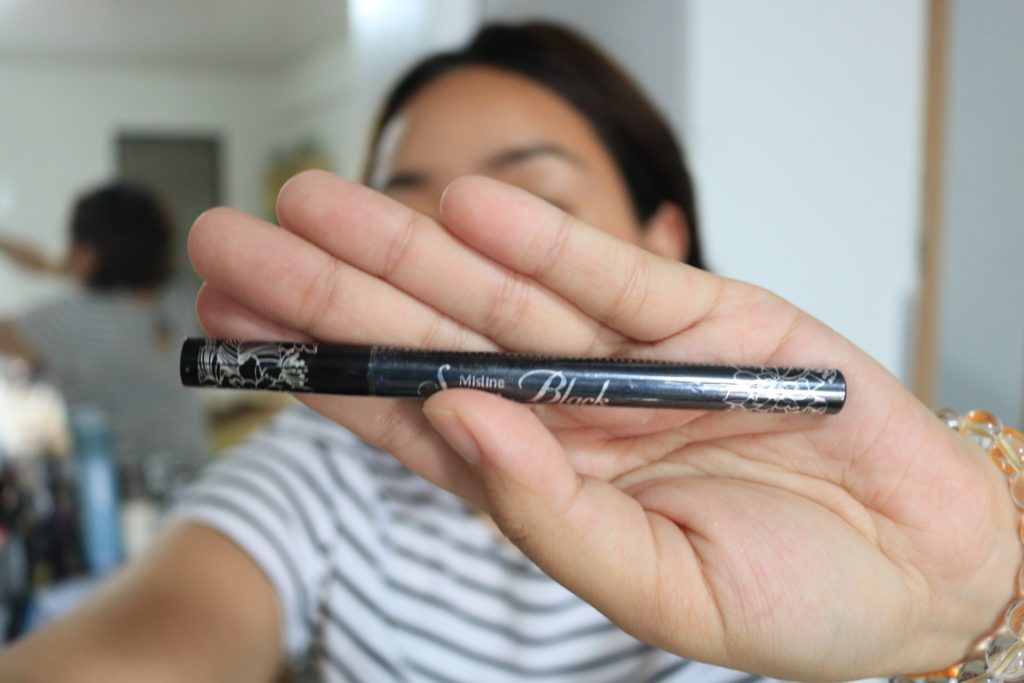
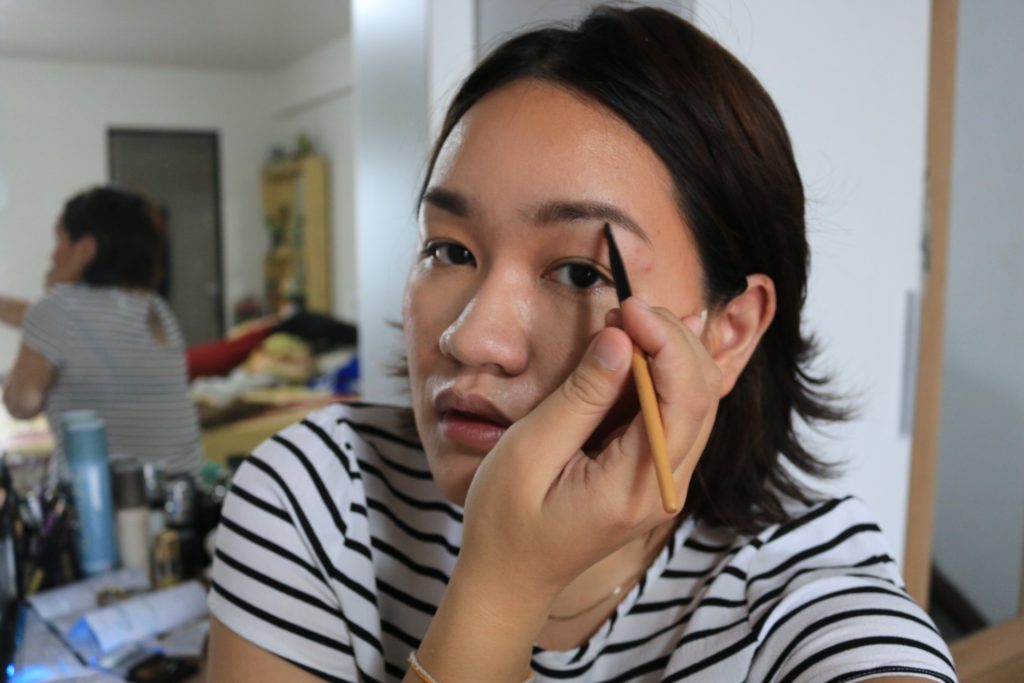
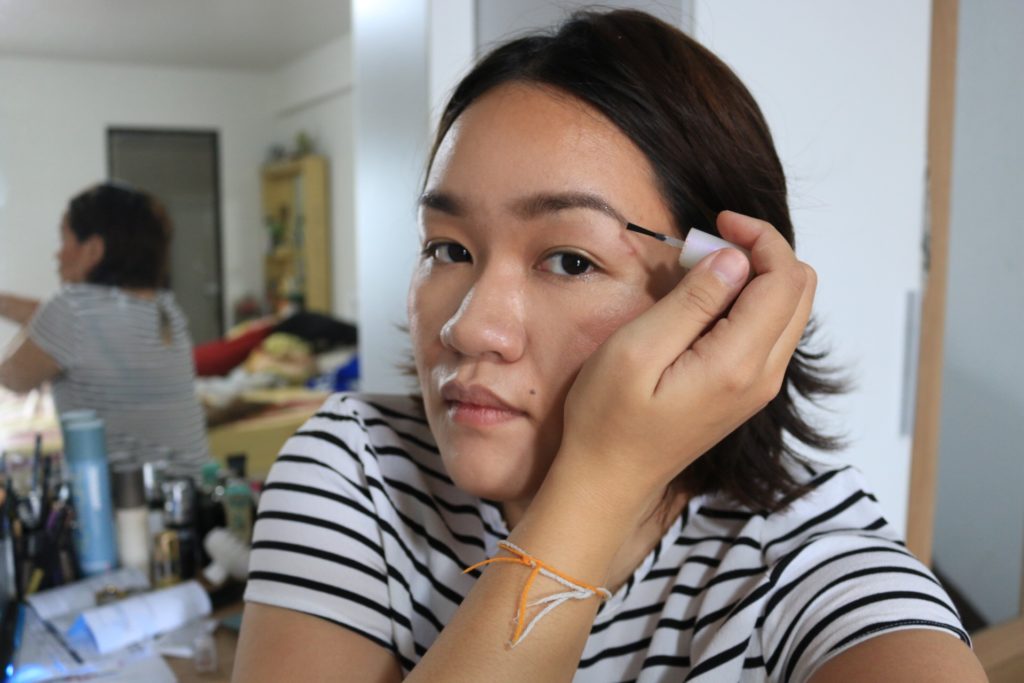
Eyeliner: Mistine Super Black Eyeliner

Yes, I don’t wear eyeshadow everyday. Keep it simple you know 😉

Mascara: MAYBELLINE Lash Sensational

Apply your choice of mascara
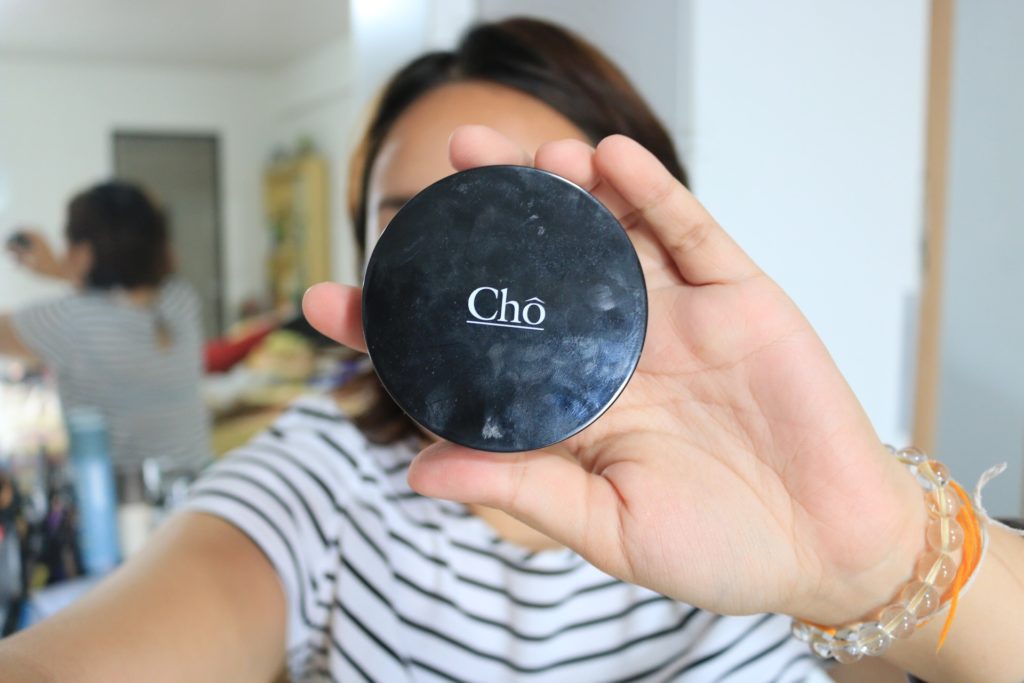
Compact Powder: Cho Anti-Aging Powder
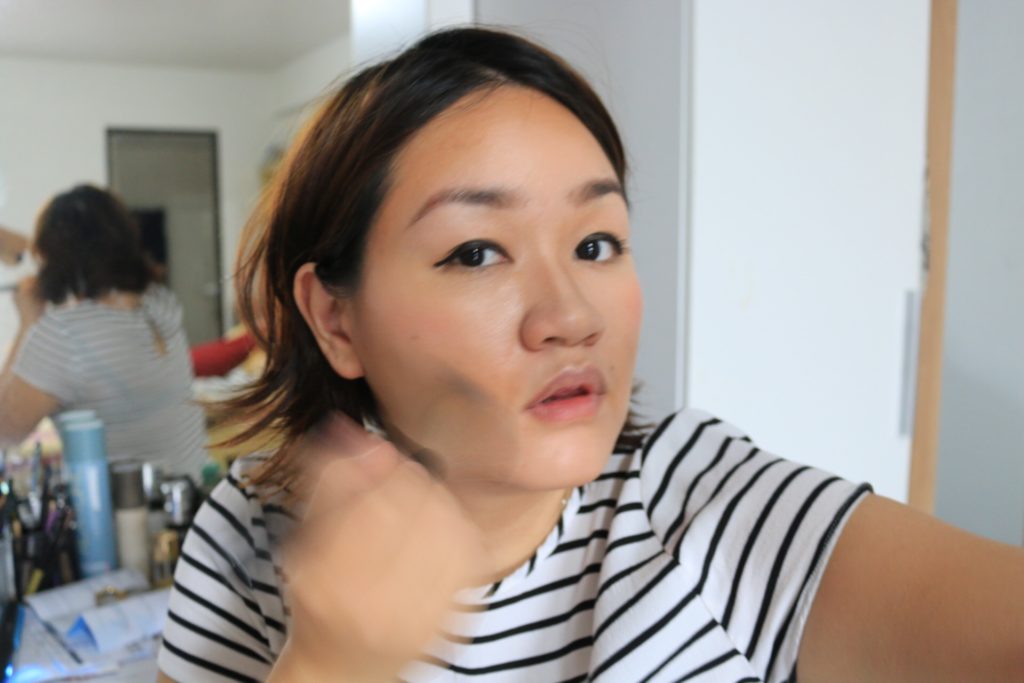
Buffing everything together.
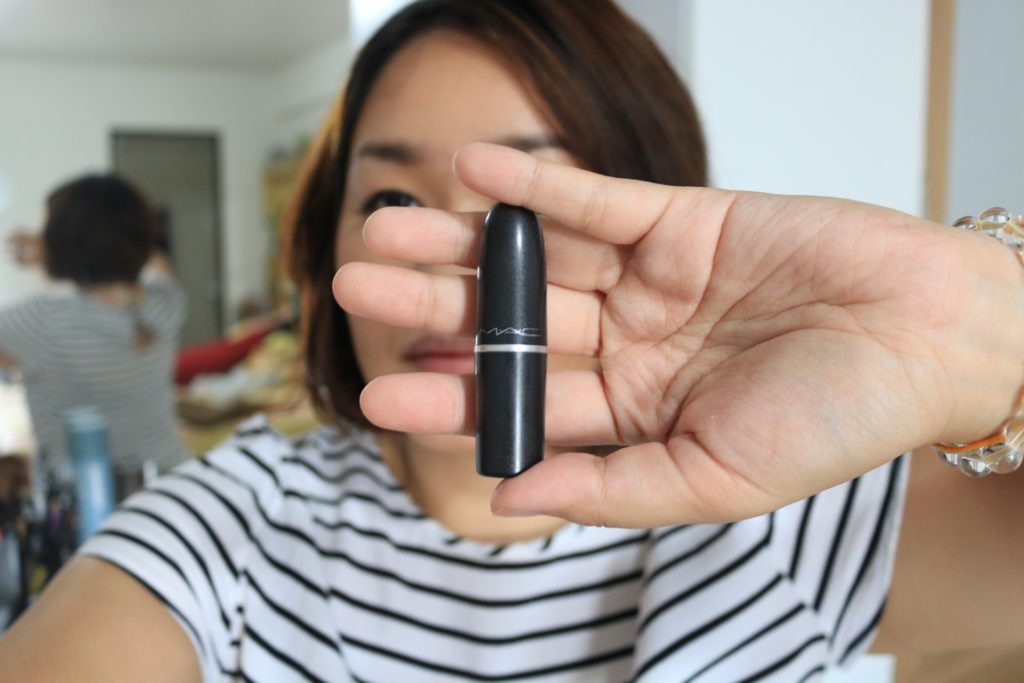
Lipstick: M.A.C. Amplified Lipstick ‘Cosmo’
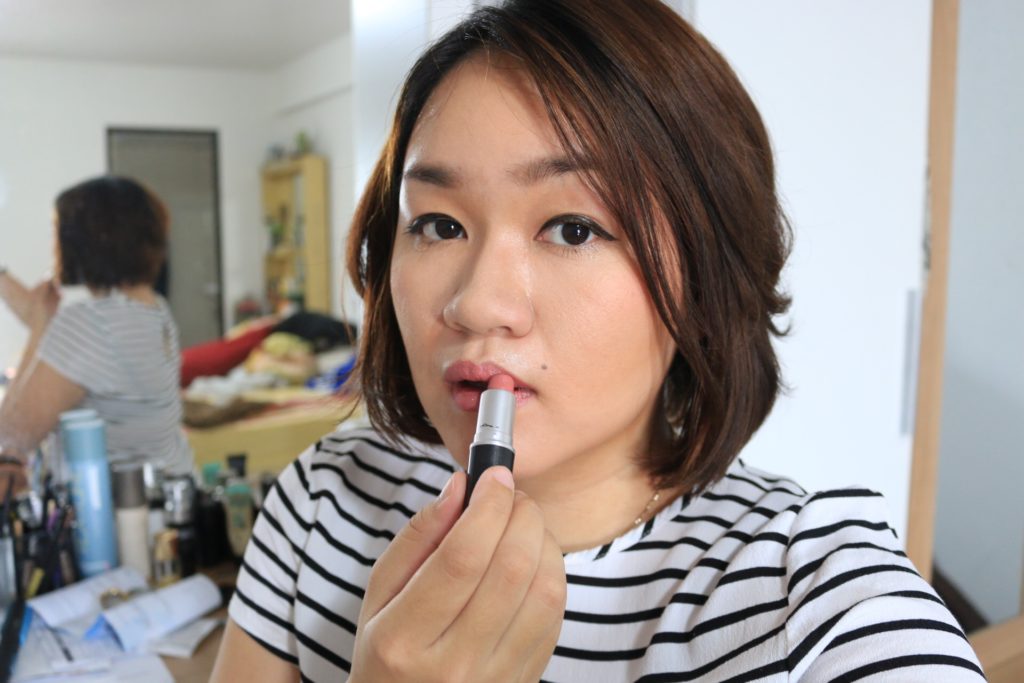
Apply them all over your lip

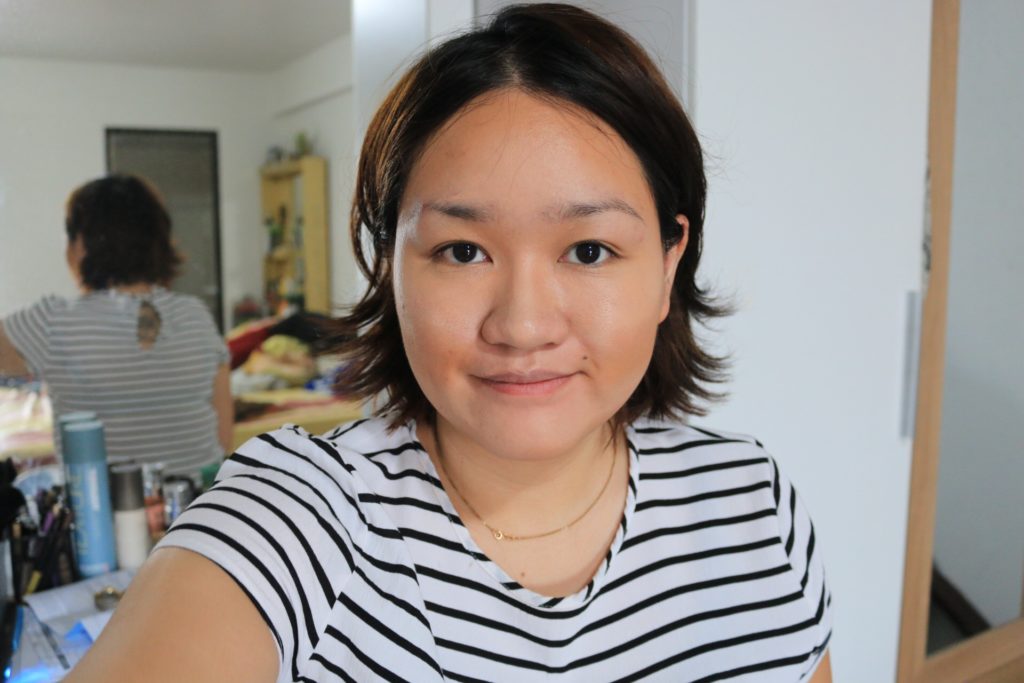
And this is my final look for this how-to!!
RESULT
Well the sponge definitely make my life much easier because I always have a hard time
working on my contour and highlight cream product.
I would give 8/10 as first impression because I feel like they do absorb my cream product
quite a bit but let’s see when I work with it again.
Anyway in case your wanna check them out
https://www.facebook.com/W7Cosmetic/
Once again thanks
![]()
Follow/Subscribe if you’d like…?
I N S T A G R A M : http://instagram.com/isthatpatchy/
F A C E B O O K : https://www.facebook.com/isthatpatchy
T W I T T E R : https://twitter.com/isthatpatchy
S N A P C H A T: jesterpatcha
L I N E :